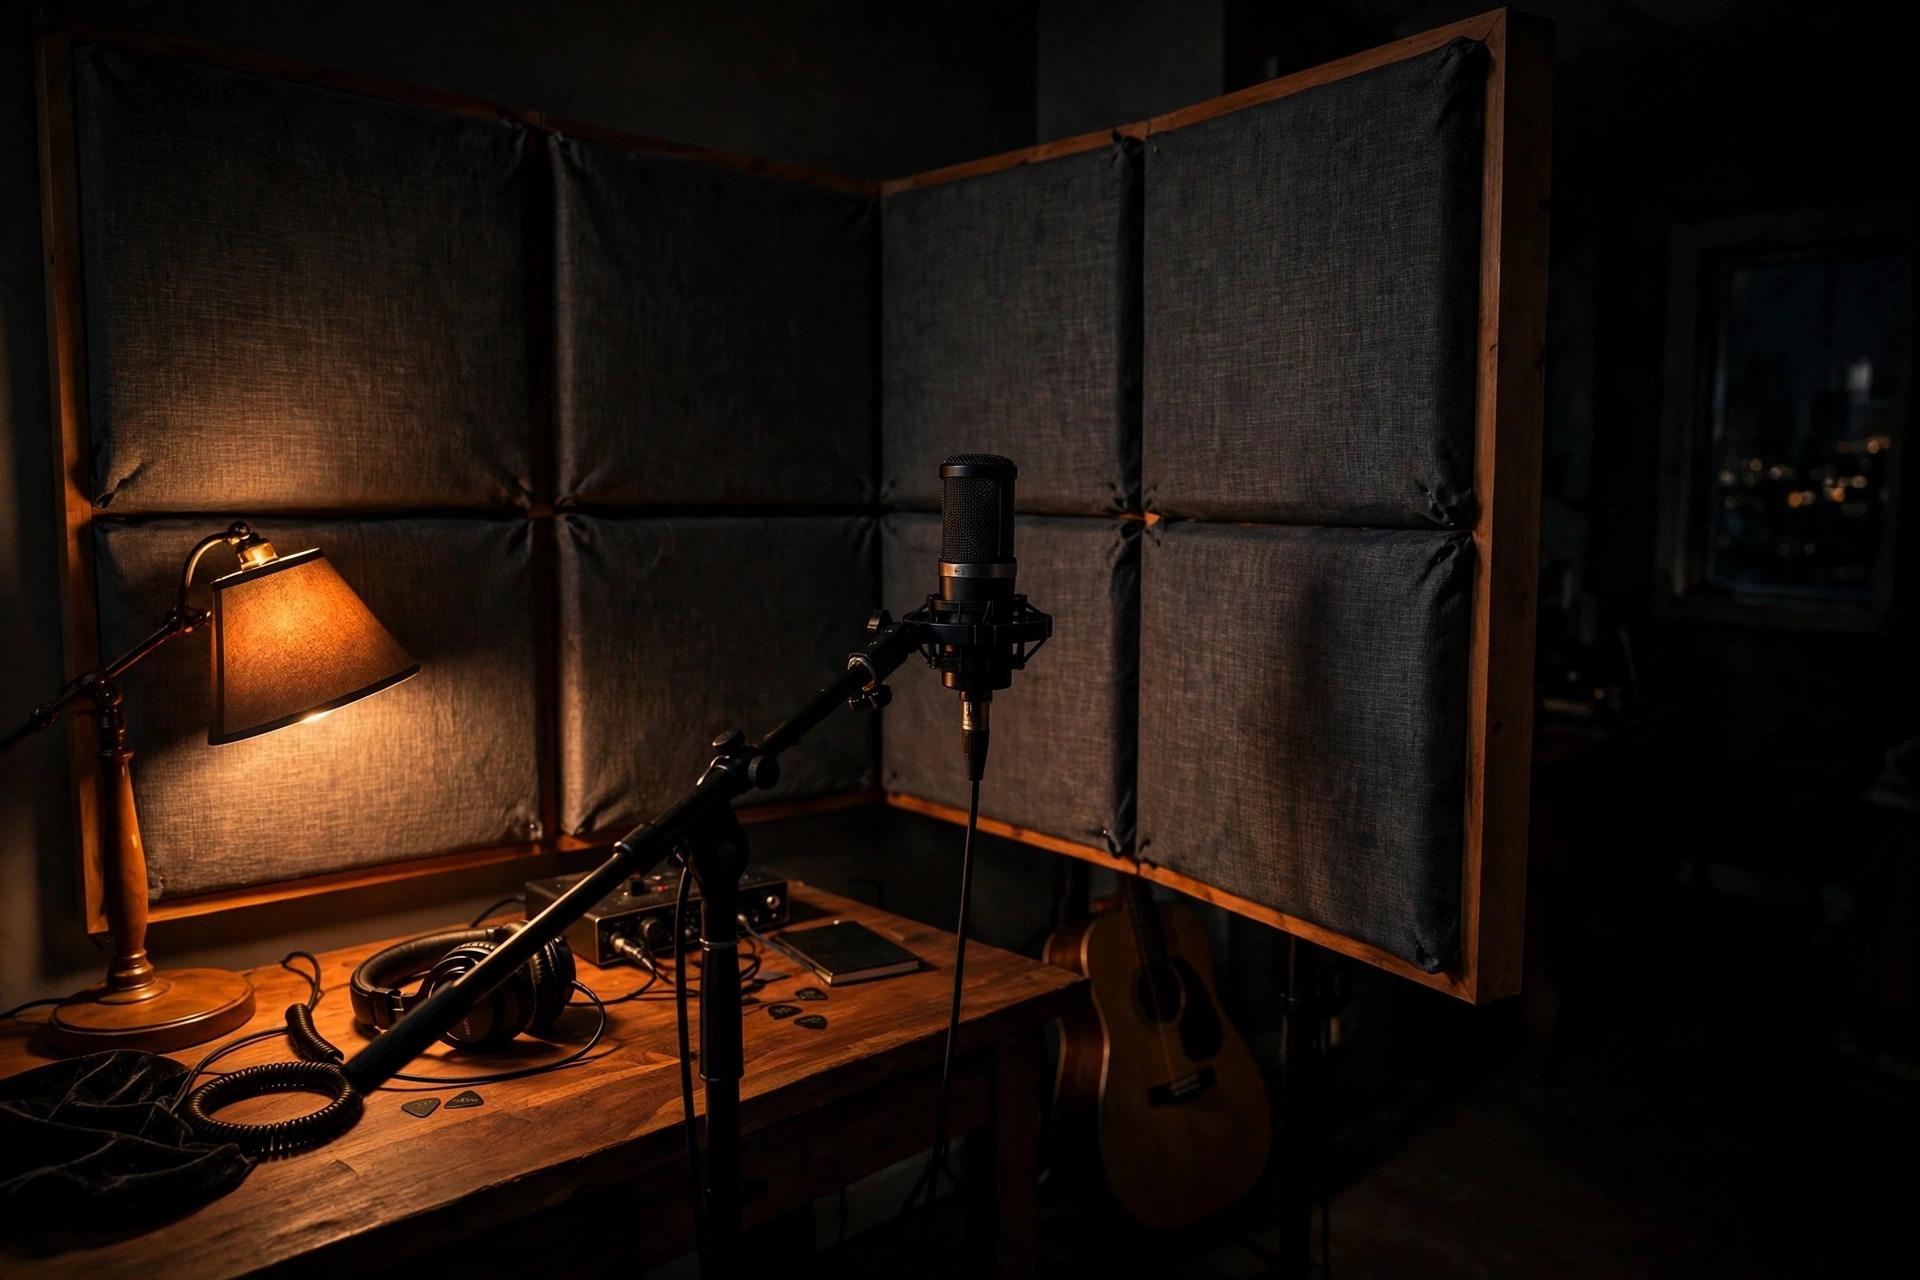
Your mic ain't the problem. Your room is.
Let's be real: most home recordings don't sound amateur because your gear is cheap. They sound amateur because your bare bedroom is out here adding its own echo, boom, and mud to everything you track — like an uninvited feature on every song.
Good news? You don't need a five-figure studio build to fix it. A few hundred dollars, spent in the right order, will do more for your sound than any new mic ever will. Let's get into it.
Corners First — That's Where the Boom Lives
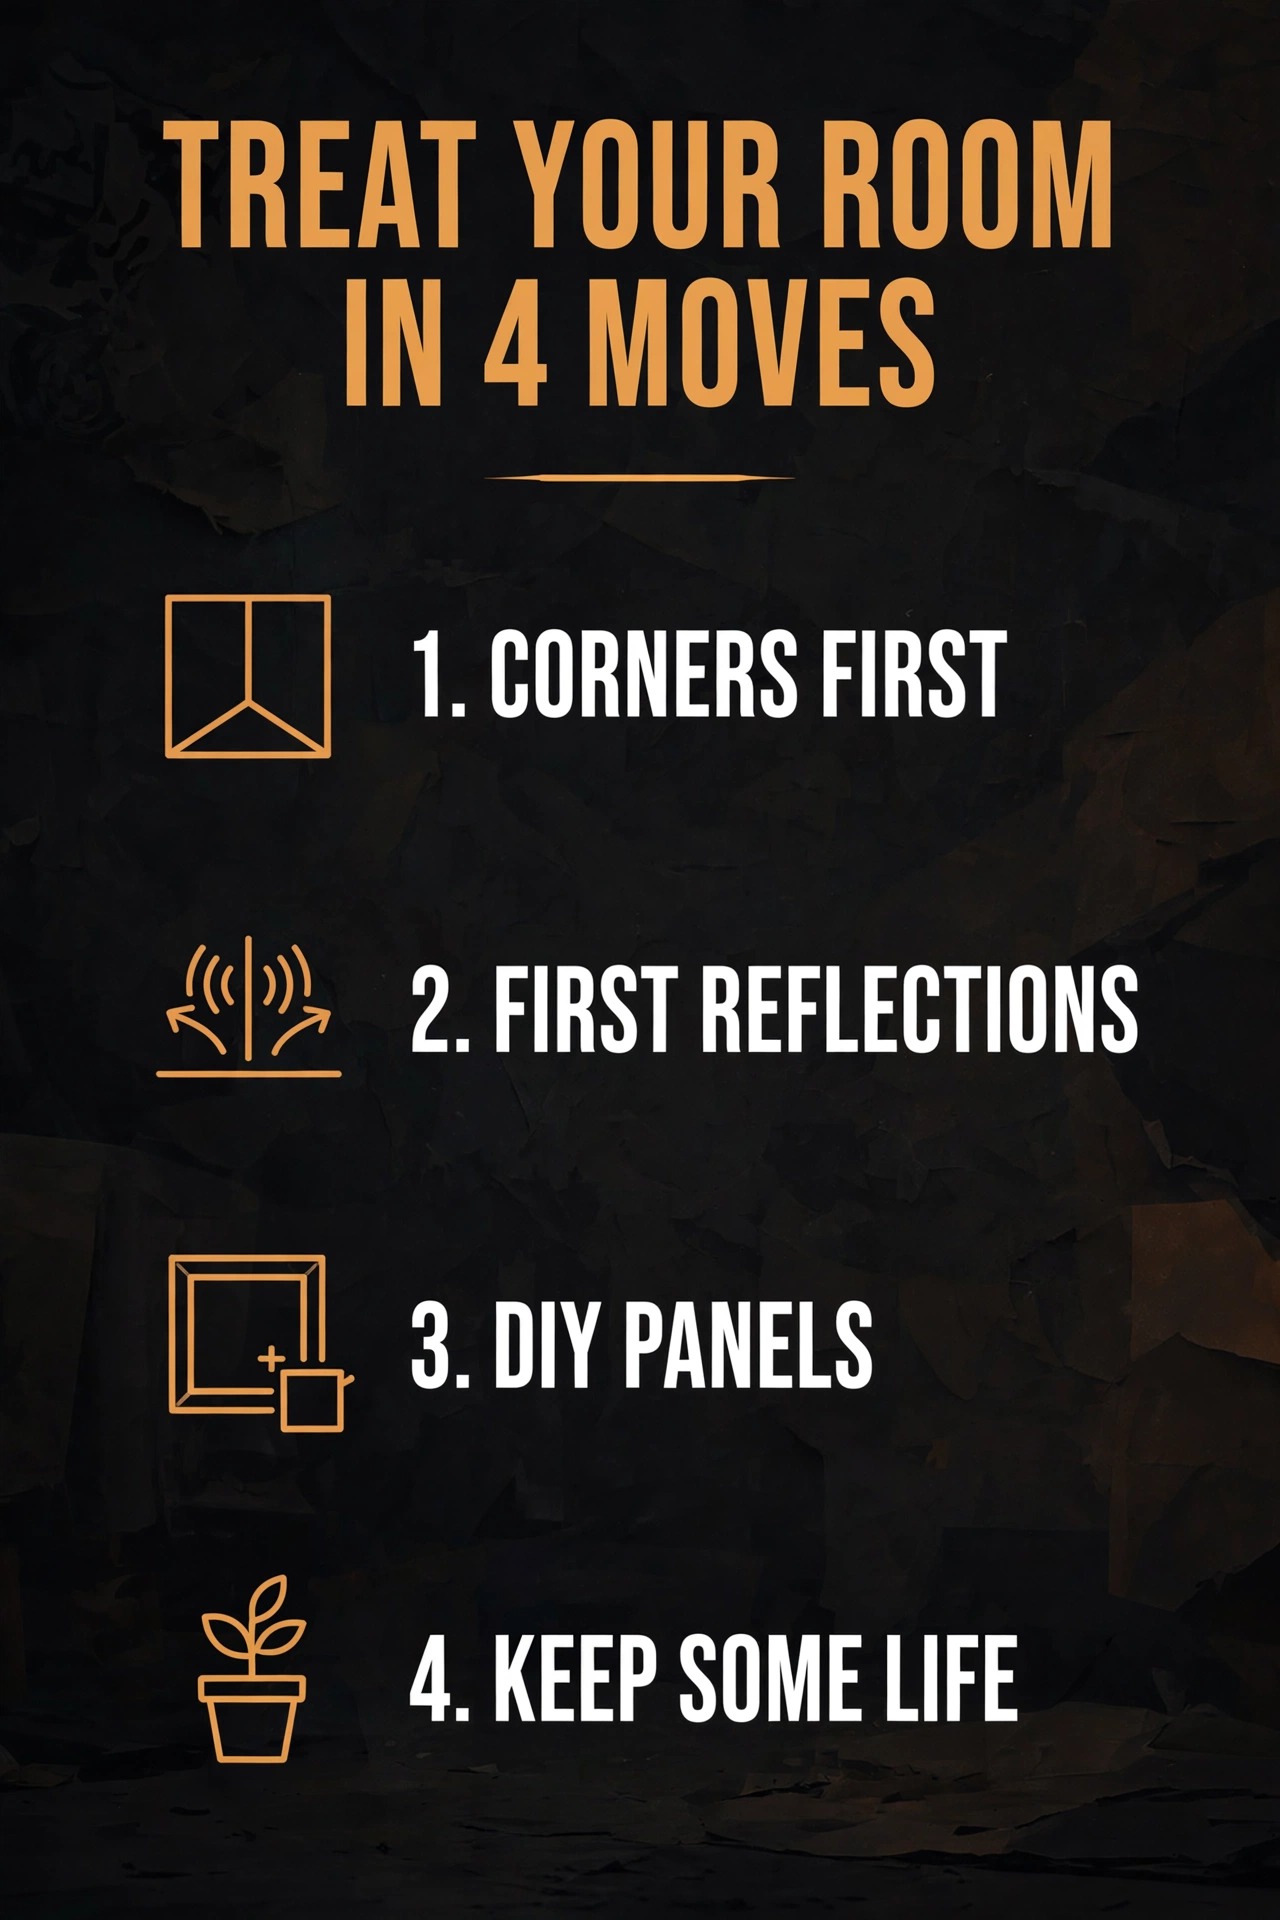
Bass loves a corner. It piles up everywhere two walls meet, and that's why your little room sounds boomy even when your mix ain't. If you only do one thing, treat the vertical corners — floor to ceiling if you can swing it, or at least the two behind your speakers and your mic.
Here's the cheat code: thick beats thin, every time. That cheap foam looks the part, but it barely touches the low end — and the low end is exactly where your room is lying to you. Dense mineral wool panels straddling the corners, or real bass traps, will tighten things up faster than any EQ plugin you own.
Kill the First Reflections (Mirror Trick)
Sit where you mix. Now have somebody slide a mirror along the side walls. Every spot where you can see your speaker in that mirror? That's a first reflection point — sound bouncing off the wall and hitting your ears a split second after the direct sound. It smears your stereo image and has you second-guessing every move you make.
Fix it simple: one panel on each side wall at those spots, one on the ceiling above you if you can, and one behind you if that back wall is close. You don't gotta cover the whole wall. You gotta cover the right spots. That's the difference between treating a room and wallpapering it.
Build the Panels Yourself — Your Wallet Will Thank You
This is where the budget stretches like crazy. A DIY broadband panel is just a wood frame, a slab of mineral wool, and some breathable fabric stretched over the front. Four of those run you about what ONE name-brand panel costs — and they actually reach down low, where thin foam taps out.
Pro tip that costs nothing: hang them with a little air gap behind them. Even two inches makes a panel act thicker than it is. Free performance. Take it.
Not a builder? No stress. Heavy moving blankets hung a few inches off the wall are a solid stopgap for vocal tracking. They won't fix your bass, but they'll murder flutter echo on the spot, and they cost next to nothing.
What NOT to Do
Don't go gluing foam to every inch of wall. A dead room sounds worse than a lively one — flat, dull, exhausting to sit in. You want control, not a padded cell. Leave some bare wall. Leave the bookshelf alone — books are low-key decent diffusers. Leave the ceiling mostly live if you can.
And don't get it twisted: treatment is NOT soundproofing. Panels and foam control what you hear inside the room. They do basically nothing about sound getting out. If the neighbors are the problem, that's a construction job, not a foam order.
Test It With Your Ears (The Receipts)
Before you hang a single thing, record a test. Clap in the middle of the room. Then cut thirty seconds of vocals on the mic you already own — an affordable condenser like the Audio-Technica AT2020 is perfect for this, because you already know exactly what it sounds like. Then hang your panels and record the same thing, same spot.
Play them back on headphones you trust. The difference won't be subtle — that's your receipt. Proof the money did something.
The $200 Starter Plan
Four DIY panels: two on the side-wall reflection points, two straddled across the front corners. A couple moving blankets for the vocal corner. Done. Live with that for a month before you buy anything else. Your ears will tell you what's still missing — and by then, you'll actually know what you're listening for.
Real talk: a treated room doesn't just make your recordings better. It makes every decision after that easier — mic placement, EQ, compression, all of it. You're not fighting the room no more. You're finally hearing the performance.
And if your tracks still fighting you after the room is right? That's my lane. I mix and master records cut in real bedrooms every week — send yours through at mixedbysilent.com and let's hear what it's supposed to sound like.