A good sub in the studio isn't about rattling windows. It's about hearing what your low end is actually doing — where the kick stops and the 808 starts, whether the bass is in tune, and what your mix will do on a club system or a car trunk. A lot of “studio sub” setups fail because the box is an afterthought: whatever enclosure the driver came in, shoved in a corner.
I've built enough MDF boxes — for studios, for cars, for arcade cabs — to tell you straight: the box matters as much as the driver. Maybe more.
And look — if DIY isn't your thing, there's nothing wrong with a finished box. Something like the Samson Auro D1200 gives you a 12-inch driver and 700 watts in a box somebody else already braced. But building it yourself costs half as much, teaches you exactly how your low end works, and lets you tune the box to your room instead of a showroom.
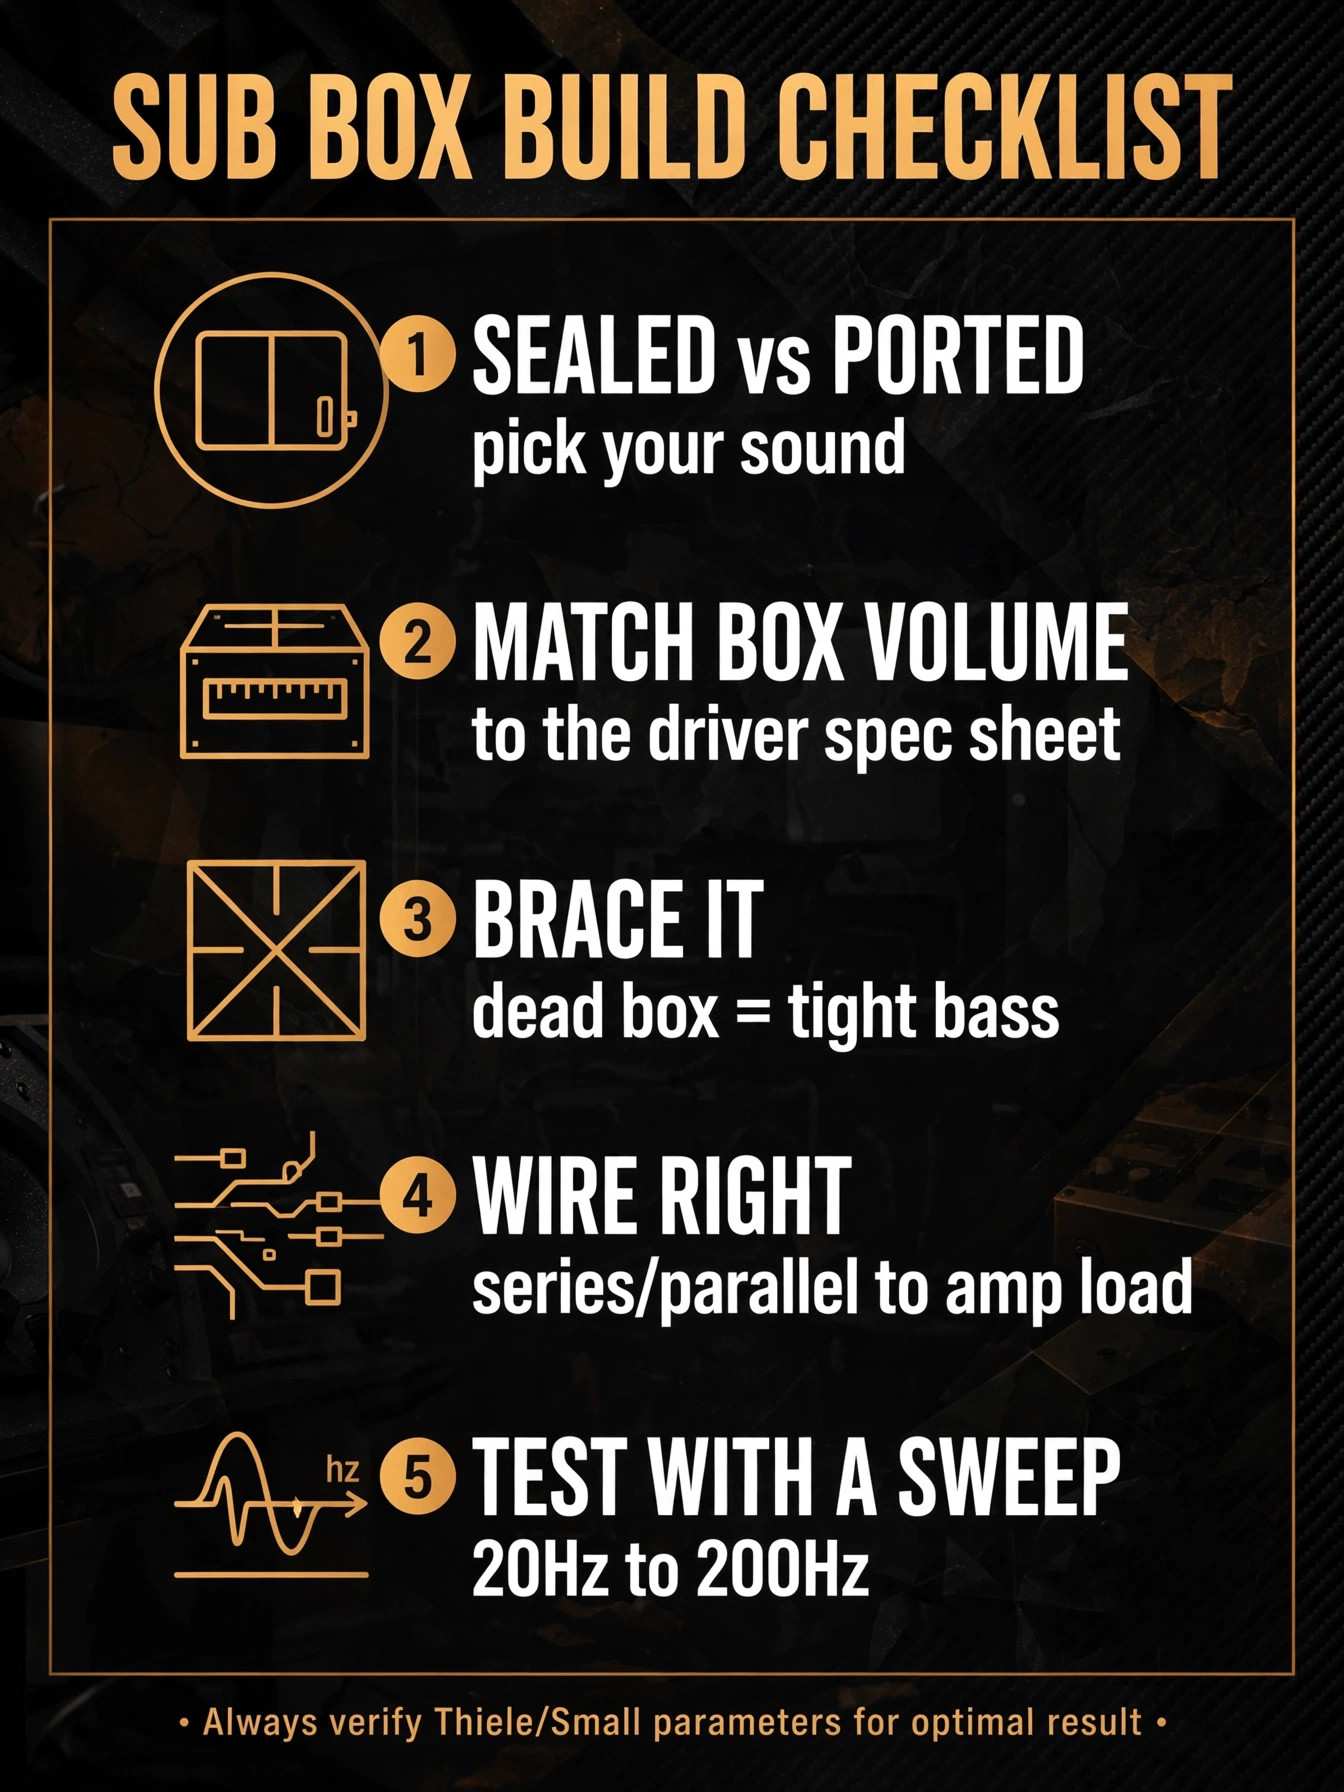
Sealed vs. ported: pick your sound
A sealed box is airtight. Smaller, more forgiving, and it rolls off smoothly at the bottom. It gives you tight, accurate bass with great transient response — when the kick hits, it hits and gets out of the way. For a studio, this is usually the right call. You want to hear the truth, not a hyped one-note thump.
A ported box adds a vent (a tube or slot tuned to a specific frequency). It plays louder and deeper around that tuning frequency, but the trade-off is real: more group delay, and below the tuning frequency the driver is basically flapping in free air — it can unload and damage itself if you feed it subsonic content. Ported boxes are bigger too, because the port itself eats internal volume.
If you're monitoring mixes, go sealed first. You'll thank yourself when your 808s translate.
Match the box to the driver, not the other way around
Every reputable driver ships with Thiele/Small parameters — Vas (equivalent air volume), Fs (resonant frequency), Qts (total Q). These numbers aren't decoration. They tell you the exact internal air volume the box needs, sealed or ported.
The math is simple: internal volume = (H × W × D) of the inside of the box, minus whatever the driver, bracing, and port displace. Measure in inches, divide by 1728 to get cubic feet. Then compare to the driver's spec sheet. Most 10" and 12" drivers want somewhere between 0.8 and 1.5 cubic feet sealed. If your box is way too small, the bass gets thin and peaky. Way too big, and it gets sloppy with no punch.
Do the math before you cut a single board. An afternoon with a calculator beats a weekend rebuilding a box that sounds wrong.
Brace it like you mean it
A box that flexes is a box that lies. Every panel that vibrates is energy that should have gone out of the driver — it smears your bass and adds resonances that aren't in your mix.
Use 3/4" MDF, not particle board, not thin plywood. Glue and screw every joint (wood glue plus coarse-thread screws), and add internal bracing: window braces or dowel braces tying opposite panels together. The goal is a dead box — knock on it and you should hear a dull thud, not a drum. Seal the inside joints with silicone caulk so there's no air leak. A leaky “sealed” box is just a badly tuned ported box.
Wire it right
If your driver is dual voice coil, know your amp's load before you wire. Two 4-ohm coils in series = 8 ohms. In parallel = 2 ohms. Run a 2-ohm load into an amp that only handles 4 and you'll cook it — or at least trip protection every time a big low note hits. Match the wiring to what your amp is rated for, and use real speaker wire (16 gauge minimum for short runs, 12 if you're running distance). Crimp or solder your terminals; a loose connection at 200 watts is a fire risk, not just a sound problem.
Place it, then test it with a sweep
Corner placement gives you free output (up to 12 dB from boundary reinforcement) but also the worst room modes. Start with the sub near your listening position — the classic “sub crawl”: put the sub where your head sits, play a bass-heavy track, then walk around the room and find where the bass sounds most even. That's where the sub goes.
Then verify with a sine sweep, 20 Hz to 200 Hz. Listen for dips, peaks, rattles, and port noise. What you're after is a smooth response with no holes — that's what lets you make mix decisions you can trust on other systems.
Your mixes are only as good as what you can hear. If your low end needs a second set of ears, that's what I do — mixing and mastering at mixedbysilent.com. Bring me your stems and let's make the bass translate everywhere.